
There is a story behind these beautiful pieces of deliciousness! One of falling in love that will forever be cherished in this household. But while Starbucks no longer makes and sells these, and I no longer shop at Starbucks... They sadly entered my 3 strikes and your out list. I needed to find a wayContinue reading "Fresh Milled Maple Oat Nut Scones – Better Than Starbucks"
Apple Wine Discard Bread
Those of you that follow me on TikTok know that I have a brewer friend named Bob that is teaching me how to make apple cider vinegar from the apples I grew. While we are in the process and I will link some of the videos below what we are working with today is theContinue reading "Apple Wine Discard Bread"
Homemade Make-up Remover Balm
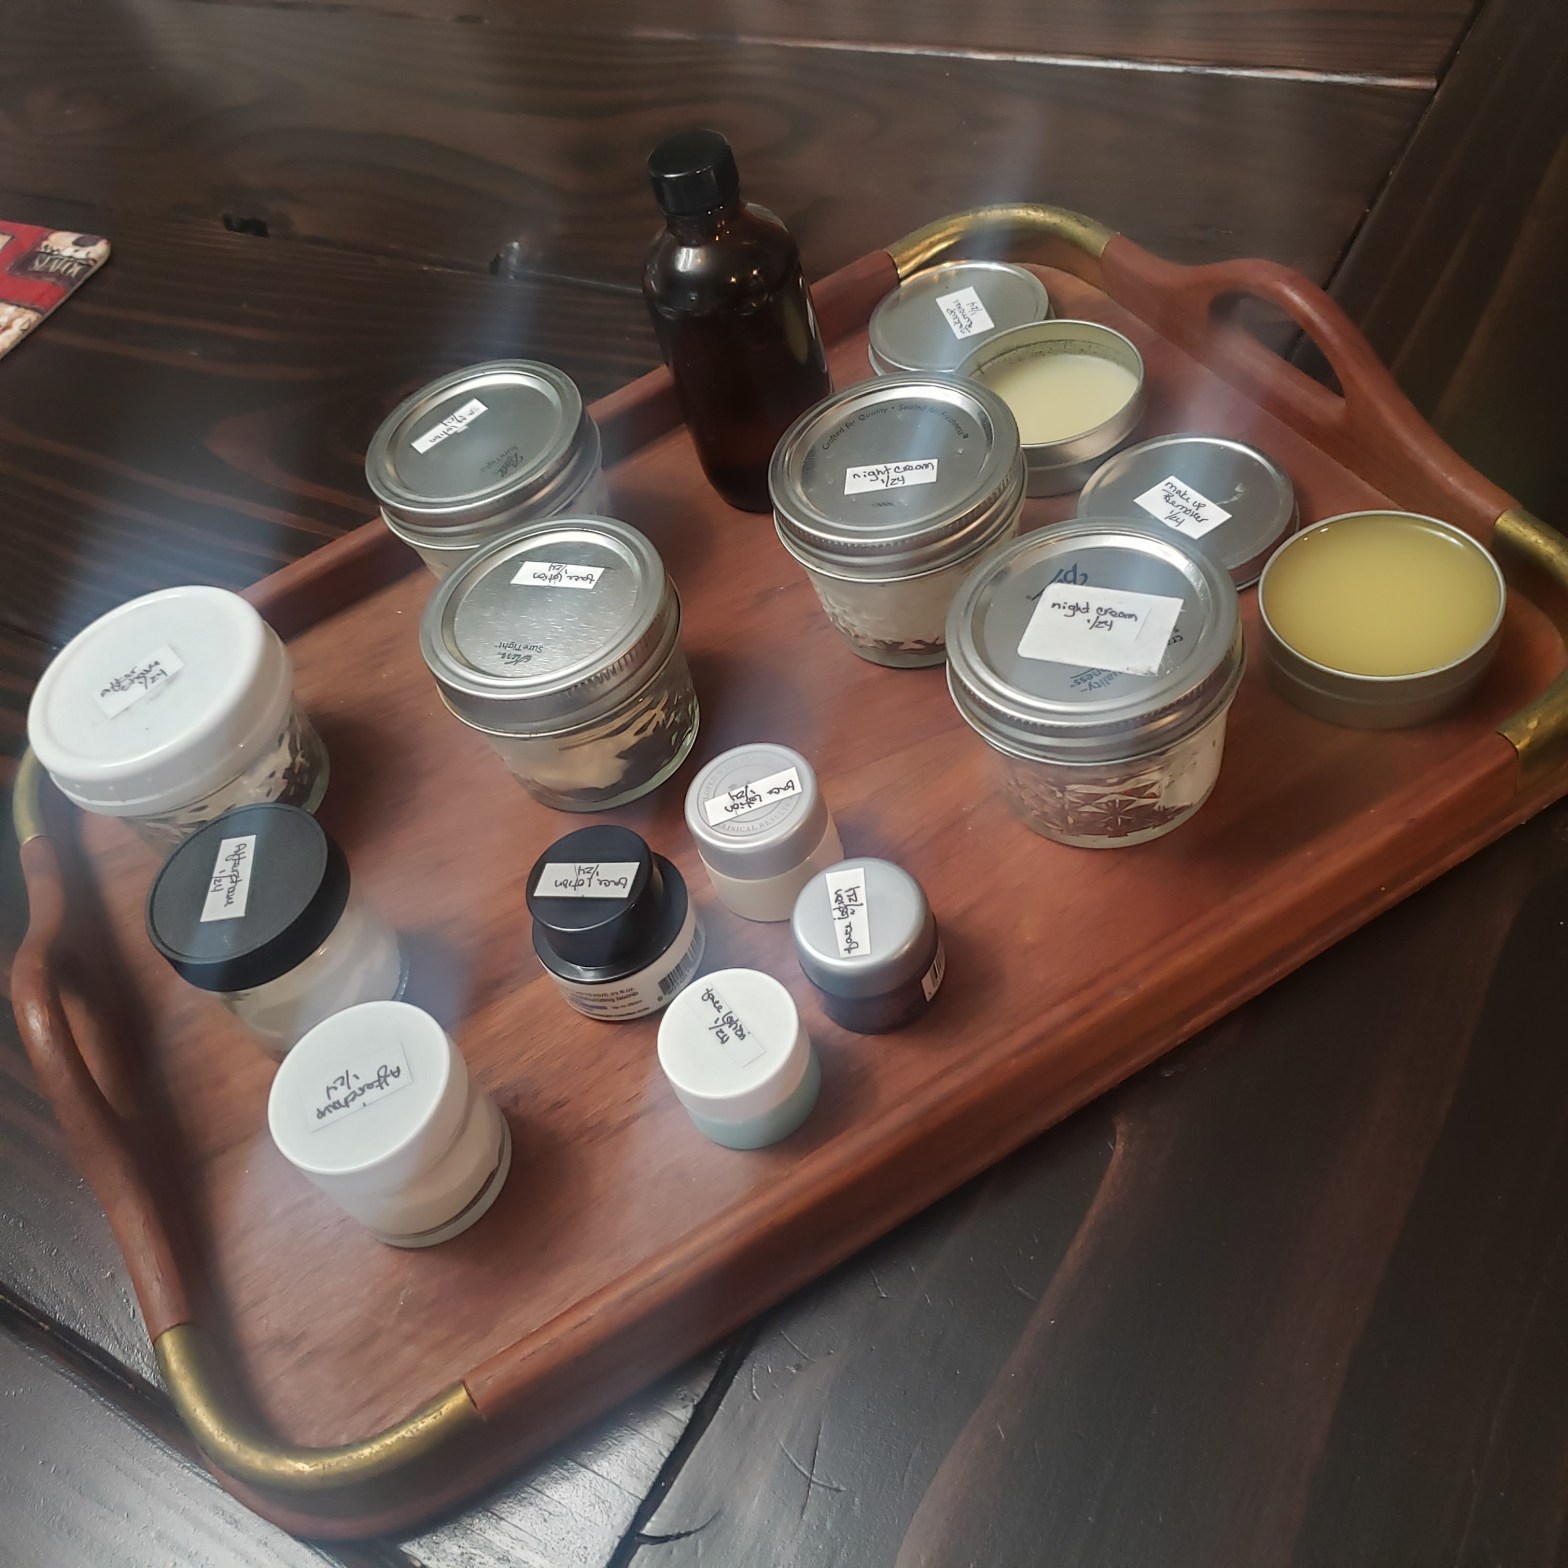
This quick and simple recipe will make a several month supply of a make-up remover balm very closely to the one I bought in the store made by Neutrogena. Only you can pronounce all the ingredients yourself. You can watch the video here on YouTube: https://youtu.be/w6GBSSGl8DY Create a double boiler, see my Tiktok video orContinue reading "Homemade Make-up Remover Balm"
Baking With Grapefruit

I was given 3 grapefruits and I wanted to challenge myself to use them. But not just eat them. I wanted to see how much of the grapefruit I could use and what I could make with them. In years past I actually canned up a whole bunch of grapefruit with lavender in a low sugar syrupContinue reading "Baking With Grapefruit"
Rustic Pear Tart
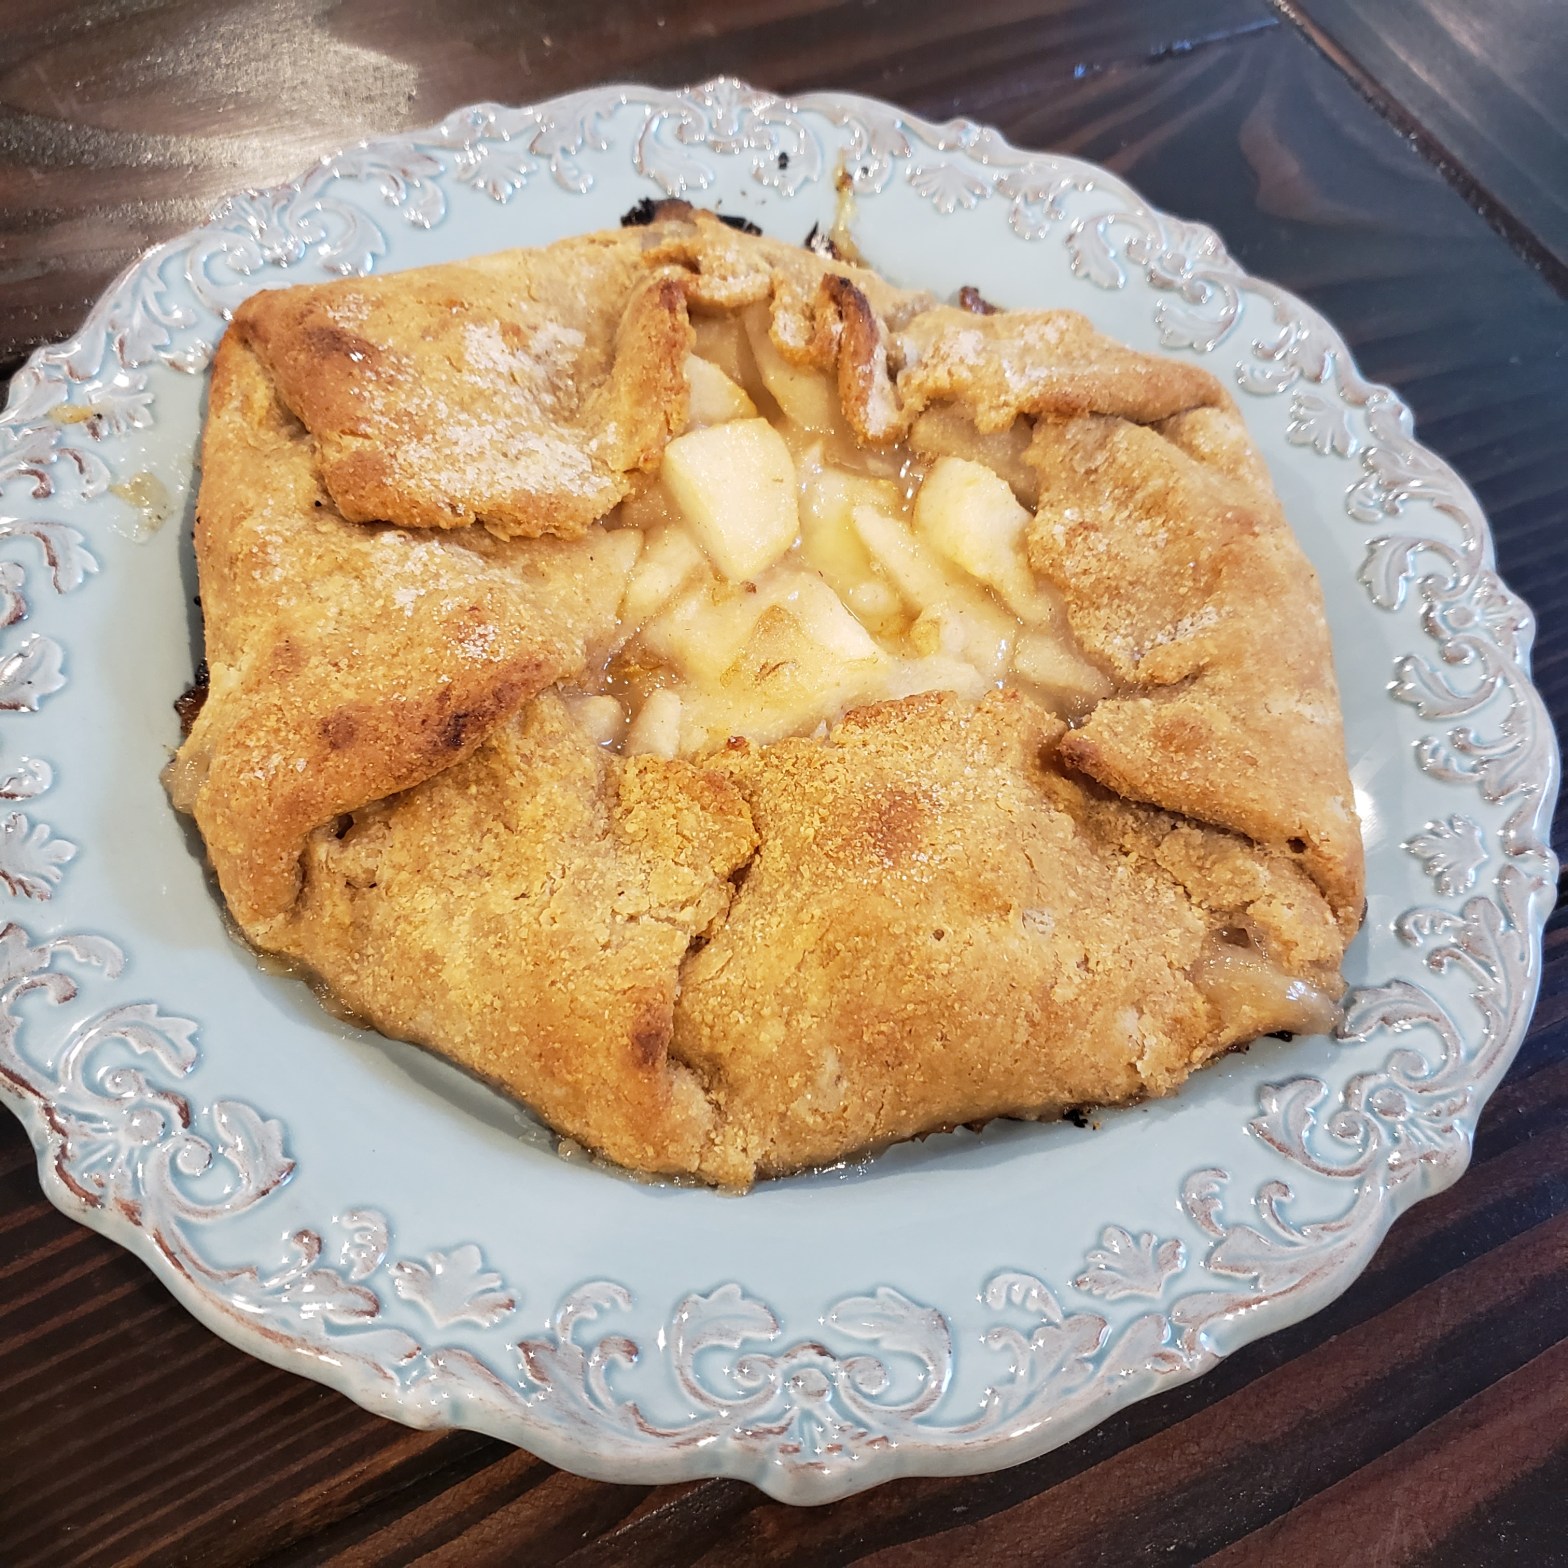
The easiest way to make an amazing rustic dessert people will love. I will put links to the making of this tart at the bottom of this post. Here's the deal, we are all swamped with stuff to do and we see those pears that we slammed in the fridge in the hopes to slowContinue reading "Rustic Pear Tart"
Lilac Vanilla Jelly
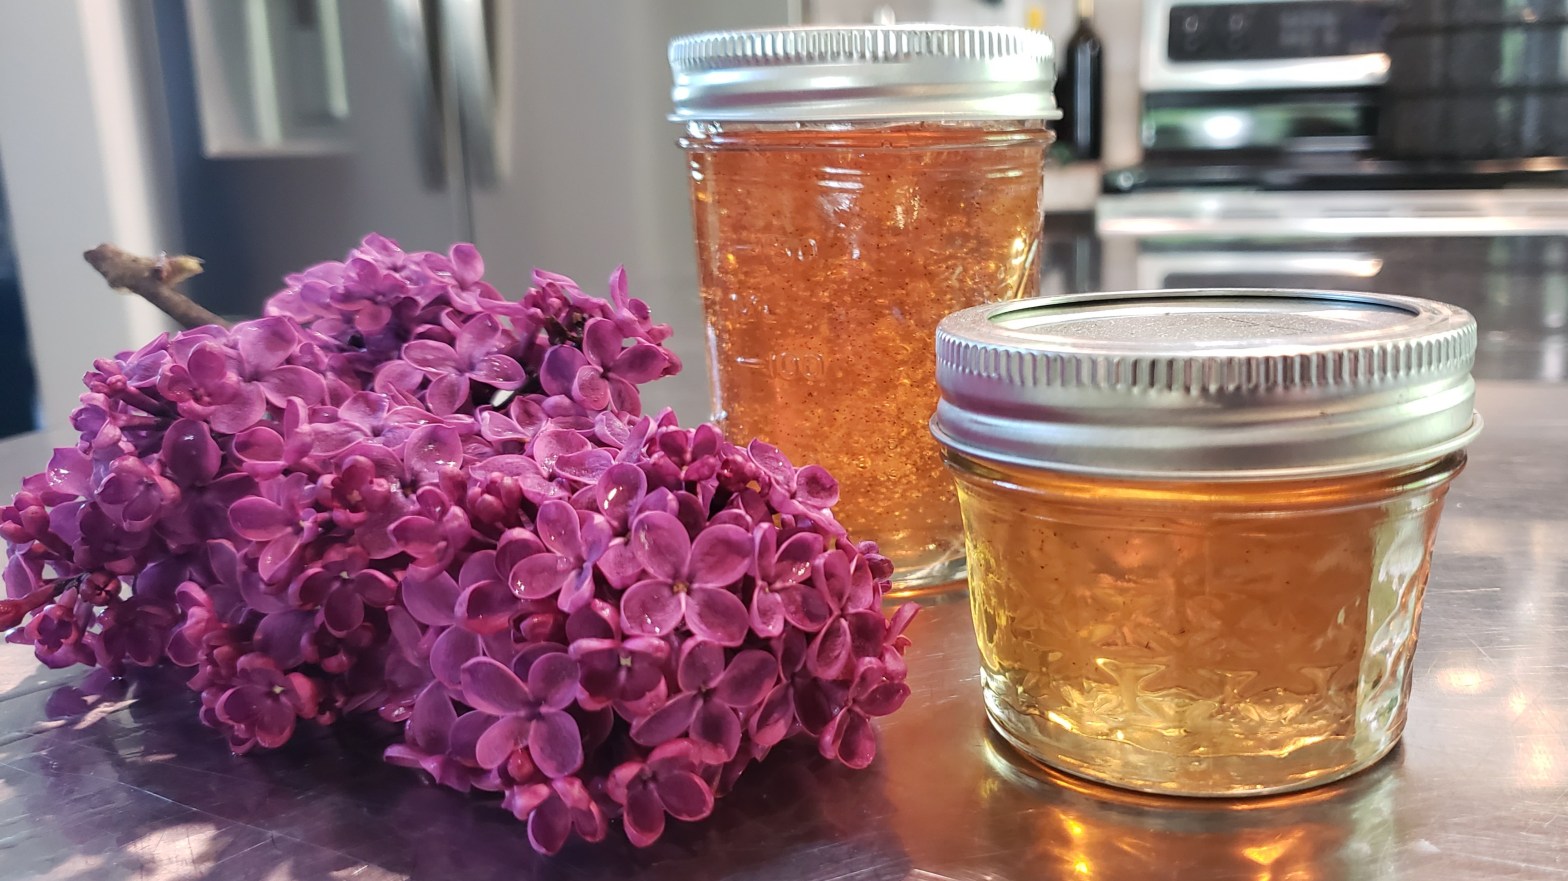
This always marks the beginning of canning season for me. The blooms on the bushes and the sweet smell wafting through the air, then brought into the house and canned up to be enjoyed till the next bloom of the Lilacs. Only use lilacs that come from a tree or bush that are not sprayedContinue reading "Lilac Vanilla Jelly"
Kenny’s Chipotle Sauce
A few months ago a neighbor brings me a box of ingredients, a sampling of his sauce that he created and a handwritten recipe note on how to create it. The instructions were easy, making it a quick amazing condiment to whip up in a matter of moments. But the one thing that struck me,Continue reading "Kenny’s Chipotle Sauce"
Keeping cats off our counters… Pet Shock Mats

Our 2 barn rescue cats are driving us nuts. They refuse to stay off the table and counter's of which are the only 2 rules I insist on. They literally have free range over the entire house. But they refuse to listen to me. Can you see how the phrase... What, were you raised inContinue reading "Keeping cats off our counters… Pet Shock Mats"
Pantry List

This is my personal list that I work off every year to determine what I have used and need when I go do my stock up shopping trips. This list is pretty personal as it shows the items we use. So be kind. I also feel the need to explain how we eat. We actuallyContinue reading "Pantry List"
Mom’s Homemade Granola

As a kid I would love the moments my mother would whip up a batch of her homemade granola. There was something about the cold milk flooding in the bowl over the warm fresh out of the oven crunch that I still love to this day. Add in the fact that it is so simpleContinue reading "Mom’s Homemade Granola"
